BASICS OF SKETCHING
SKETCHING
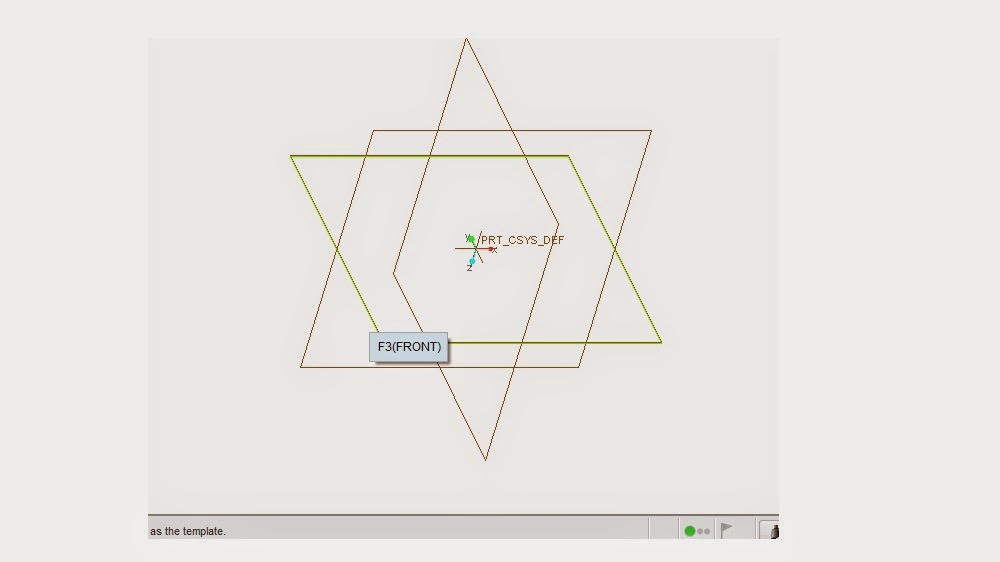
Sketching is a basic process in 3D modeling of a
component. For any component a sketching is primary thing. For any model it consists
of three planes.
The planes shown above are the three planes of
views. The three planes shown are orthogonal in nature i.e., every plane makes
an angle 900 with each other. To do sketching we have to select any
one plane. We do sketching on a plane. Sketching is a 2D.To make it into 3D we
use several options like extrude, revolve, sweep etc,. In order to do sketching on any plane we have
to select a plane and it selects a reference plane along with selected plane in
order to make into 3D model.
The
below diagram shows the sketching plane. The sketch plane consists of different
sketching options like Line, Circle, Rectangle, Arc, Ellipse, Spline.
The basic drawing options are
1. Line -- General line , Tangent line (To draw line
between two circles)
2. Rectangle
-- Corner rectangle, Slanted rectangle (For creating rectangle in which direction
we want which depends on angle), Center rectangle (For creating rectangle
symmetric to both X and Y axis), Parallelogram.
3. Circle
– Center and radius, Concentric (For creating different circles with same
centre and different radius) , 3-Point circle (Using 3 points to create a
circle)
4. Arc
– 3-Point arc (using three points), Concentric arc, Conic.
5. Ellipse
– Using two points by varying lengths.
These are sketching options, and there are modifying
options to modify sketch. They are
·
Fillet – For making smooth line between
two connecting or intersecting lines
·
Chamfer – For making chamfers between
two lines
·
Constraints – Of all above constraints
are very important in making a sketch without any weak dimensions. The
different constraints are
1. Vertical -- Used for making any inclined line to
vertical line
2. Horizontal -- Used for making any inclined line to
horizontal line
3. Parallel --
Used for making any two lines as parallel
4. Tangent
--
Used for making any line tangent to a circle
5. Symmetric -- Used for making any sketch symmetric about
any axes
6. Equal -- Used for making two lines equal
7. Perpendicular -- Used for making two lines perpendicular
8. Coincident --
Used for making any point or line coincident to other
There are some other editing options. They are
1. Mirror
– Used to make any duplicate sketch about any axes
2. Trim -- Used to delete the unwanted portions of a
sketch
3. Divide
-- Used to divide any circle or line in to different parts.
There is other option for creating different complex
types of sketches such as polygons, Profiles and stars.
The last option is measuring
dimensions of a sketch. The different options are normal which is generally
used dimensioning method the other is reference dimensioning.


Comments
Post a Comment